How to Budget for Your Flooring London Project (2026 Price Guide)
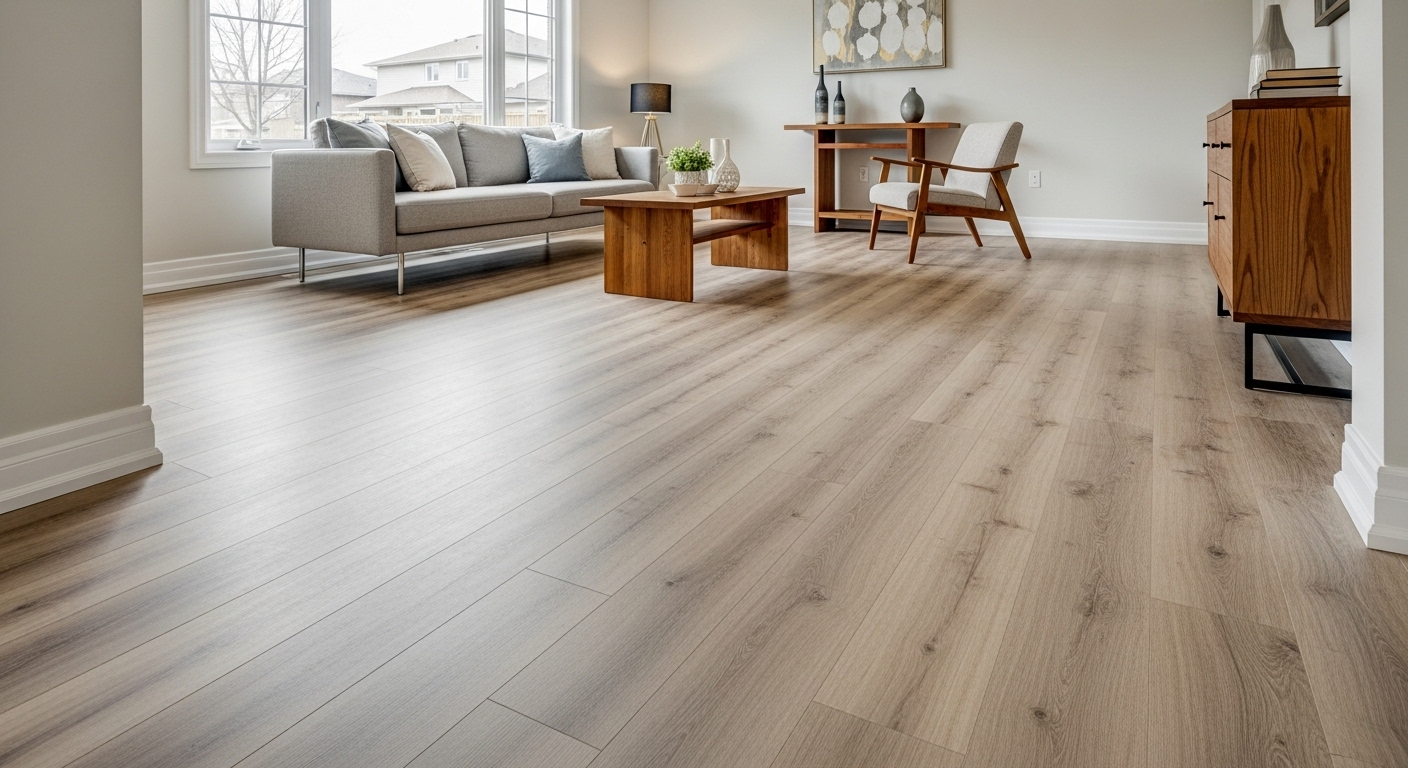
Flooring is one of the biggest “feel” upgrades you can make in a home—but it’s also one of the easiest ways to blow a renovation budget. In London, Ontario, homeowners often get quotes that vary by thousands of dollars for what seems like the same job. One installer says it’s a simple weekend project, another insists you need major prep work, premium underlay, and a longer timeline. In 2026, both could be telling the truth.
The difference usually comes down to what’s included: the quality of materials, the complexity of installation, and the hidden realities of London homes—older subfloors, basement moisture, and finishing details that people forget to price in. This guide breaks down the real costs behind “Flooring London” projects, so you can budget with confidence and avoid the surprises that sink renovations.
We’ll separate your costs into three buckets: materials, installation labor, and preparation + finishing. Then we’ll cover the “London specials” that show up in quotes, how flooring impacts resale value, and smart ways to save money without sacrificing long-term performance.
Part 1: Break Your Budget Into Three Buckets
When people ask, “What does flooring cost per square foot?” they’re usually thinking about the planks or tile in the box. But the full project price is a stack of smaller items that add up quickly. A realistic flooring budget in London should include:
- Material: the flooring product itself (plus waste allowance)
- Installation labor: the method and complexity of the install
- Preparation + finishing: subfloor correction, moisture protection, trim, transitions, and disposal
If a quote looks “too good to be true,” it’s often because one of these buckets is thin—or missing entirely. On the other hand, a higher quote can be justified if it includes prep work that prevents failure later. The goal is not to chase the lowest number—it’s to understand what you’re buying.
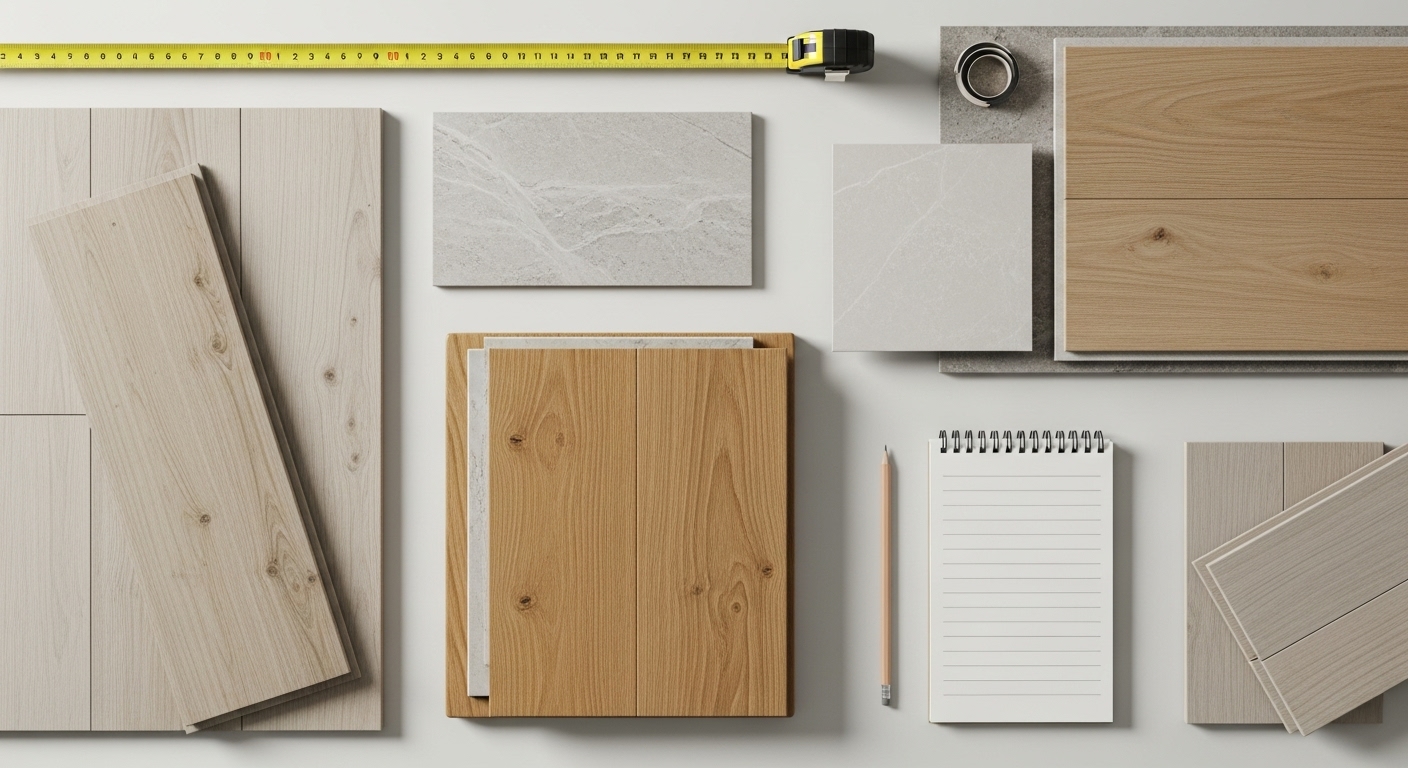
Part 2: Material Costs in London (Per Square Foot, 2026)
Material pricing depends on quality level, thickness, wear layer, brand, and design (wider planks and specialty visuals often cost more). The ranges below reflect what homeowners typically pay for quality materials in the London area in 2026. Budget products exist below these numbers, but they often come with tradeoffs in durability, warranty coverage, or long-term stability.
1) Entry-Level Laminate or Basic Vinyl
$2.50 – $4.00 per sq. ft.
This category is common for quick refreshes, rentals, and lower-traffic areas. If your goal is simply to replace worn carpet on a tight budget, it can work. The risk is that entry-level products can show wear sooner—especially around seams, doorways, and kitchen zones.
- Best for: bedrooms, rentals, short-term fixes
- Watch for: thin wear layers, weaker locking systems, and moisture sensitivity
2) Premium SPC Vinyl (Waterproof)
$4.50 – $7.00 per sq. ft.
SPC (Stone Plastic Composite) vinyl has become the “default smart choice” for many London renovations. It’s waterproof, stable, and durable enough for busy households. If you have kids, pets, or a basement project, this is often the best value category because it reduces risk—especially water risk.
- Best for: main floors, basements, kitchens, rentals with long-term durability goals
- Watch for: extremely low-cost “SPC” with thin wear layers or poor acoustics
3) Engineered Hardwood
$7.00 – $14.00 per sq. ft.
Engineered hardwood is a premium option that offers real wood beauty with improved dimensional stability compared to solid hardwood. The price range is wide because it varies by species, veneer thickness, grading, plank width, and finish quality. Wider planks and thicker veneers usually cost more—but they can also feel more upscale and perform better over time.
- Best for: living spaces where resale appeal matters
- Watch for: moisture exposure, especially in basements or entry zones
4) Natural Stone or Porcelain Tile
$5.00 – $15.00 per sq. ft. (material)
Tile material costs can look surprisingly reasonable—but tile is a system, not just a surface. The real cost often shows up in prep work (flatness requirements, cement board or uncoupling membranes) and labor. Tile can be an excellent investment for bathrooms, entryways, and mudrooms, but you’ll want to budget for professional installation if you want clean lines and long-term crack resistance.
Part 3: Installation Labor Costs (Per Square Foot, 2026)
Labor is where quotes can diverge dramatically. Two installers can use different methods, include different steps, or work at different quality levels. The numbers below are common ranges in London for professional installation, excluding major subfloor repairs.
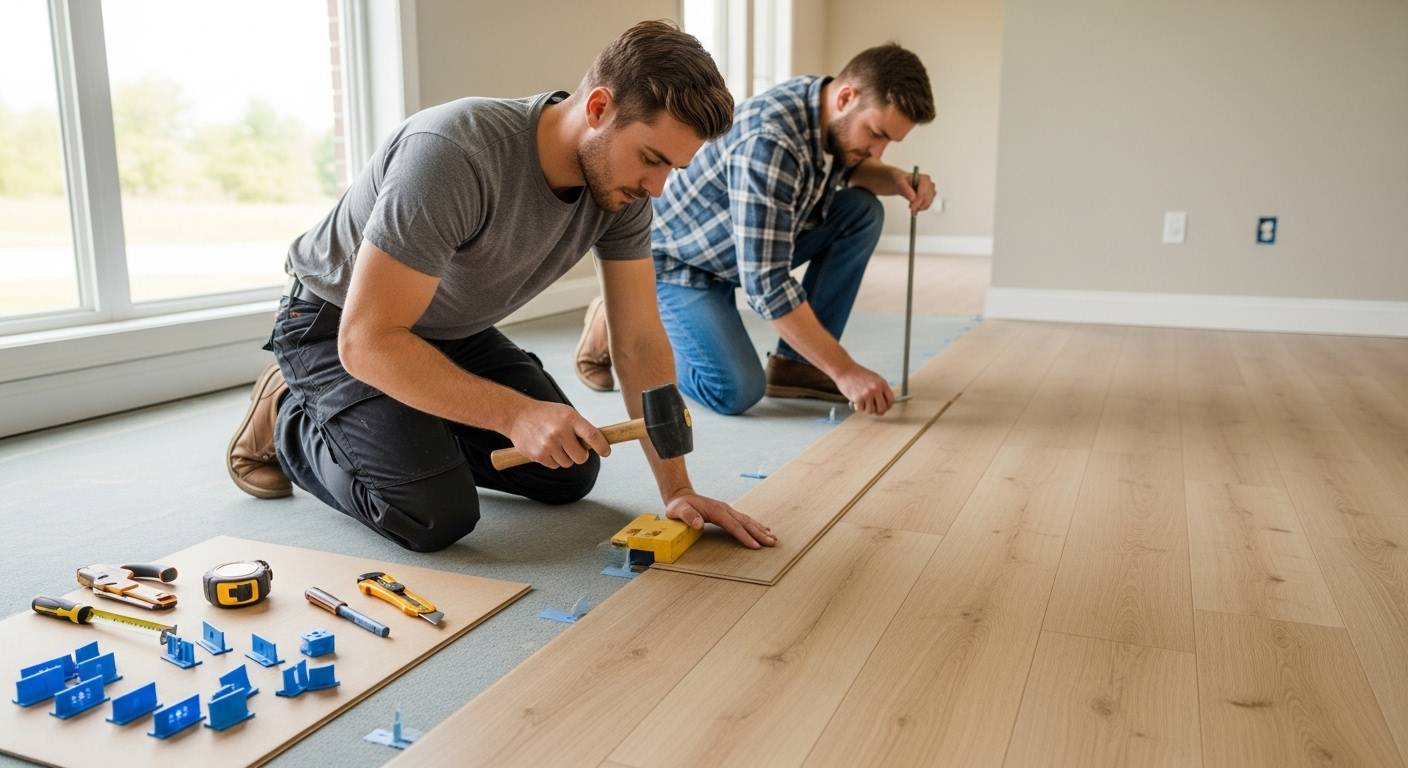
1) Float-Click Flooring (Vinyl/Laminate)
$2.00 – $4.00 per sq. ft.
Click flooring is faster to install and tends to be the most budget-friendly labor category. But it has a catch: it needs a relatively flat subfloor. If your floor is uneven, you may save on installation while spending more on prep. That’s why click-floor quotes often look “cheap” until subfloor leveling appears on the estimate.
2) Nail-Down or Glue-Down Hardwood
$4.00 – $7.00 per sq. ft.
Hardwood installs require more time, skill, and specialized tools. Glue-down applications also involve adhesives, trowels, and careful layout to avoid hollow spots. The payoff is a more premium feel underfoot and a look that buyers in higher-end neighborhoods recognize immediately.
3) Tile Installation
$8.00 – $15.00 per sq. ft.
Tile is the most labor-intensive option because it involves mortar work, curing time, grouting, and precise cutting. Tile also demands a stable and properly prepared subfloor to prevent cracking. If your quote includes membranes, backer board, or advanced leveling steps, that can raise the price—but it also reduces the chance of problems later.
Part 4: The “London Specials” — Hidden Costs That Blow Budgets
London homes have patterns. Certain issues show up again and again in estimates—especially in older neighborhoods and basement projects. Planning for these items upfront is the difference between a smooth renovation and a stressful one.
1) The “Old South” Subfloor Correction
In heritage homes, subfloors are rarely perfectly level. Years of settling can create dips, slopes, and bouncy sections. Modern click-flooring often requires a surface that’s flat within roughly 3/16 of an inch over a 10-foot span. If the floor isn’t flat, planks can flex, locks can fail, and you may hear popping or feel movement underfoot.

Typical cost: $500 – $1,500 for self-leveling compound, patching, or plywood underlayment—depending on how much correction is needed.
Why quotes differ: one contractor may price minimal leveling (or none), while another prices the floor to meet manufacturer specs. If you want warranties to actually hold up, preparation matters.
2) Basement Moisture & Vapor Barrier
Basements in London are a special case. Even when a basement looks dry, moisture vapor can move up through concrete. Skipping a moisture barrier can lead to mold, odor, cupping, or adhesive failure, depending on the floor type.
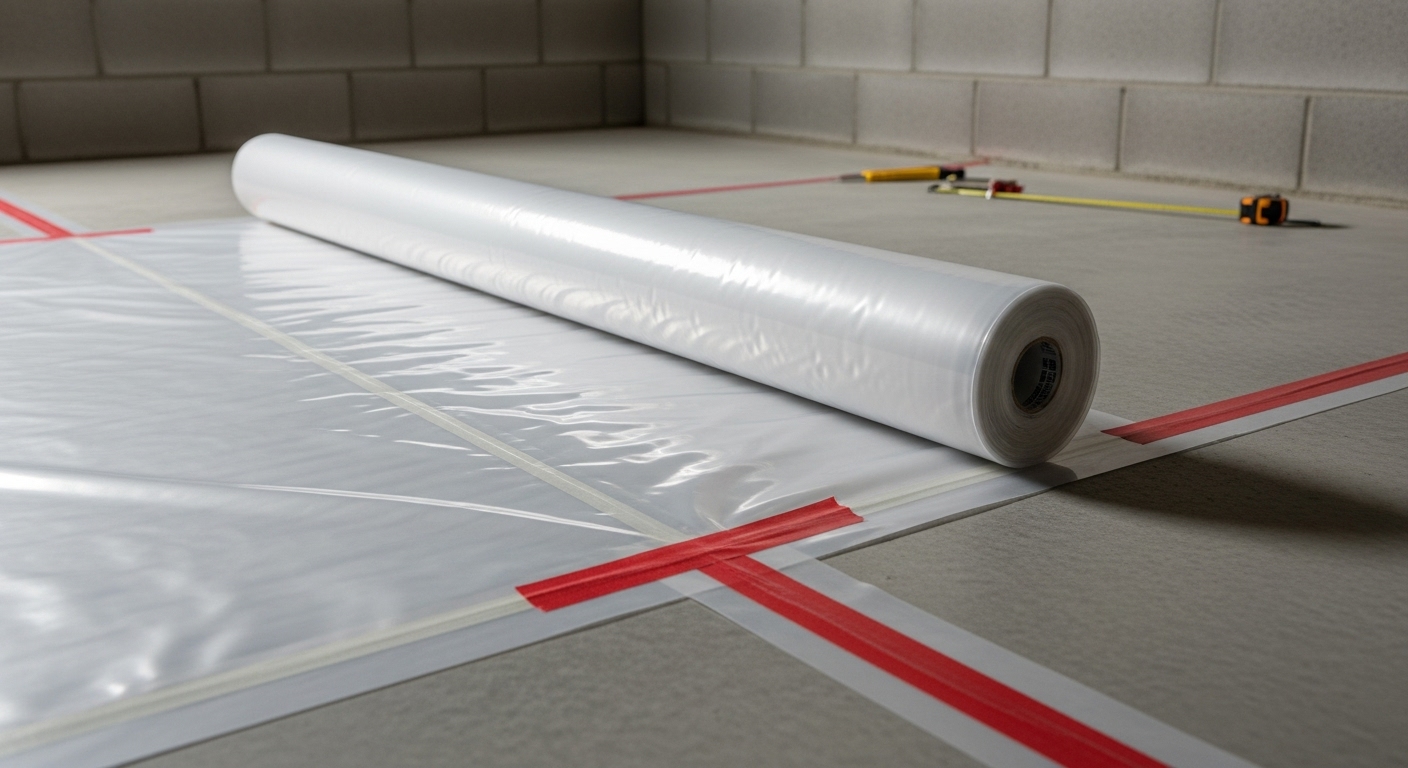
Typical cost: $0.50 – $0.80 per sq. ft. for quality 6-mil poly or specialized underlayment systems.
This is one of the best “small spends” in flooring. It protects your investment and reduces the risk of hidden damage that is expensive to remediate.
3) Trim, Baseboards, and Transitions
Homeowners often budget for flooring but forget the finishing details that make the job look complete. Floors don’t stop cleanly at walls, stair noses, doorways, and changes in height. If you’re updating multiple rooms, you’ll likely need transitions where new flooring meets tile, carpet, or existing hardwood.
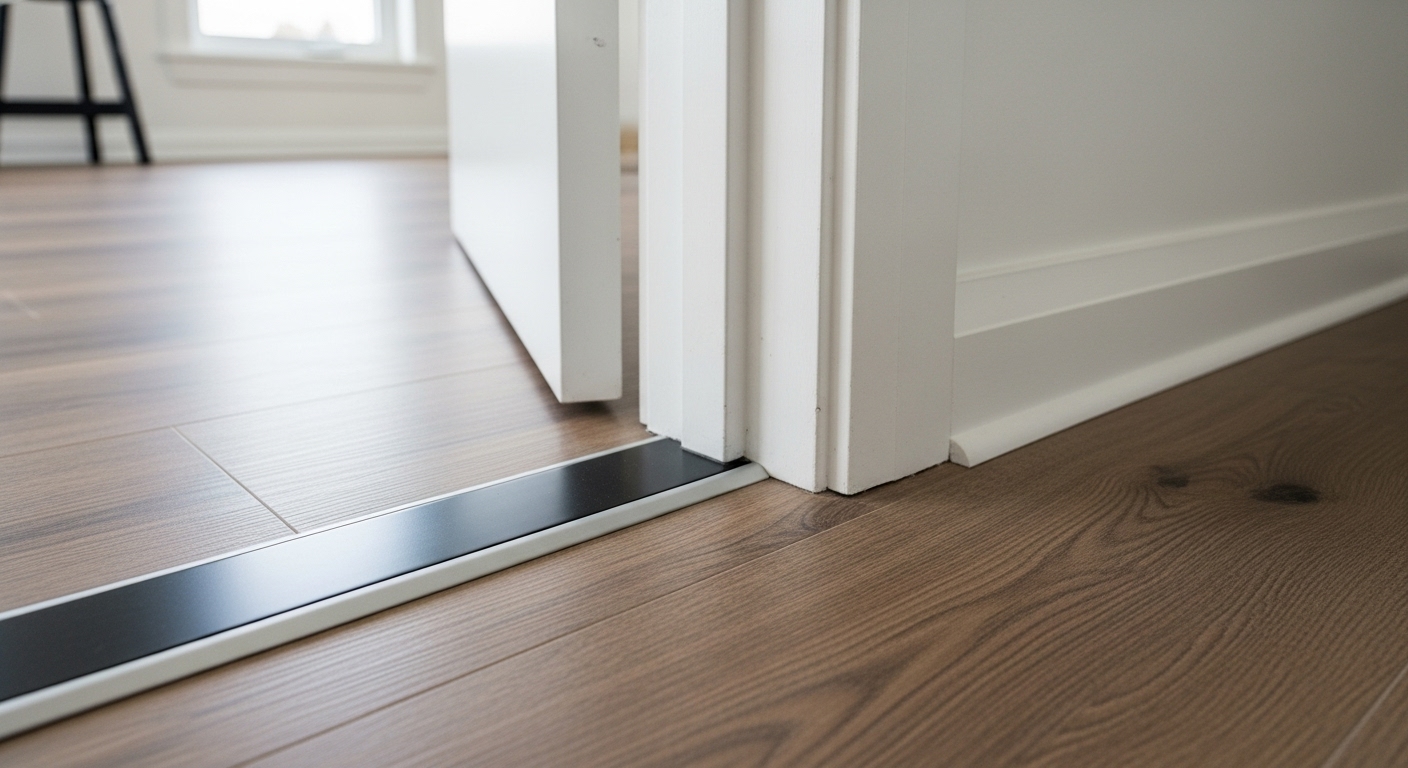
Typical cost: $500 – $1,000 for a standard main-floor project, depending on baseboard replacement, painting, and the number of transitions.
If you’re trying to keep budgets tight, you can sometimes reuse existing baseboards—but only if they come off cleanly and still fit the new floor height. In many cases, new baseboards are worth it for a cleaner final look.
Part 5: Why One Quote Is $5,000 and Another Is $12,000
If you’ve seen wildly different numbers for the same space, it’s usually one (or more) of these differences:
- Prep allowance: one quote includes leveling/repairs, the other assumes “good enough”
- Material grade: thicker planks, better wear layer, higher-quality hardwood veneer, better tile, better underlay
- Scope clarity: does it include removal, disposal, moving furniture, stair noses, transitions, and baseboards?
- Installation method: click vs glue vs nail-down vs tile systems
- Warranty-backed installation: some installers price to meet manufacturer specs; some don’t
When comparing quotes, ask each contractor to list what’s included in writing. If one includes subfloor correction, moisture barrier, and finishing—and the other does not—you’re not comparing the same project.
Part 6: ROI — Which Floors Add the Most Value in London?
If resale value matters, flooring isn’t just a personal preference—it’s a market signal. London buyers notice floors immediately because they change the feel of the entire home. The best ROI choices depend on your neighborhood, price range, and the style of your home.
The High-Value Choice: Engineered Hardwood
In many higher-demand pockets of London, real wood is seen as a luxury finish. Engineered hardwood tends to photograph well, feels premium underfoot, and signals “well cared for.” Many homeowners can recover roughly 70–80% of the cost in perceived home value when hardwood is chosen appropriately and installed well.
The Practical Choice: Waterproof LVP (SPC Vinyl)
For mid-range homes, busy family households, and rental properties, waterproof vinyl has a powerful advantage: buyers see it as low-risk. They know it can handle spills, pets, and wear without immediate replacement. If you want a modern look with predictable durability, LVP is one of the safest investments in 2026.
Part 7: How to Save Money Without Sacrificing Quality
You can absolutely reduce costs—without cutting the steps that keep your floor stable and long-lasting. Here are the most effective strategies we recommend for London homeowners.
1) Do the Demolition Yourself
Removing old carpet, laminate, or floating vinyl is often “sweat equity.” Many contractors charge $1.50 – $2.50 per sq. ft. for removal and disposal. On a 500 sq. ft. space, that’s up to $1,250 that you could redirect into better materials or needed prep.
Just be safe: wear a mask, protect your hands, and plan for disposal (especially if you’re pulling tack strips and staples).
2) Standardize Your Materials
Buying one flooring product for a larger area usually reduces the cost per square foot and cuts waste. Mixing five materials across five rooms can increase:
- extra waste and off-cuts
- transition pieces and labor complexity
- shipping and special-order delays
Even if you want variation, consider limiting it to two surfaces: one for the main floor and one for wet zones like bathrooms and mudrooms.
3) Schedule in Shoulder Seasons
In London, flooring demand often spikes in peak renovation windows. If you can schedule for late fall or early spring, you may have an easier time booking your preferred installer and avoiding rushed timelines.
4) Spend Where It Prevents Failure
If you want a durable floor that lasts, prioritize spending on:
- Subfloor leveling (prevents movement and lock failure)
- Moisture protection in basements and slab-on-grade areas
- Quality underlay for acoustics and comfort (where applicable)
These are the “invisible” items that make the visible surface perform properly.
Conclusion: Build a Budget That Reflects Total Cost of Ownership
Budgeting for flooring in London is about more than price per square foot—it’s about understanding what your home needs to support a floor that will still look great years from now. A cheap floor that fails in three years is far more expensive than a quality system that lasts for decades.
When you separate your budget into materials, labor, and preparation—and you plan for London’s most common hidden costs—you’ll avoid the frustrating surprises that derail renovation projects. The result is a floor that fits your lifestyle, respects your budget, and adds real value to your home.
If you want the most accurate budget, measure your space carefully, add a realistic waste allowance (typically 5–10% depending on layout), and make sure every quote clearly lists what’s included. That clarity is how you go from “overwhelmed by numbers” to confident decision-making in 2026.